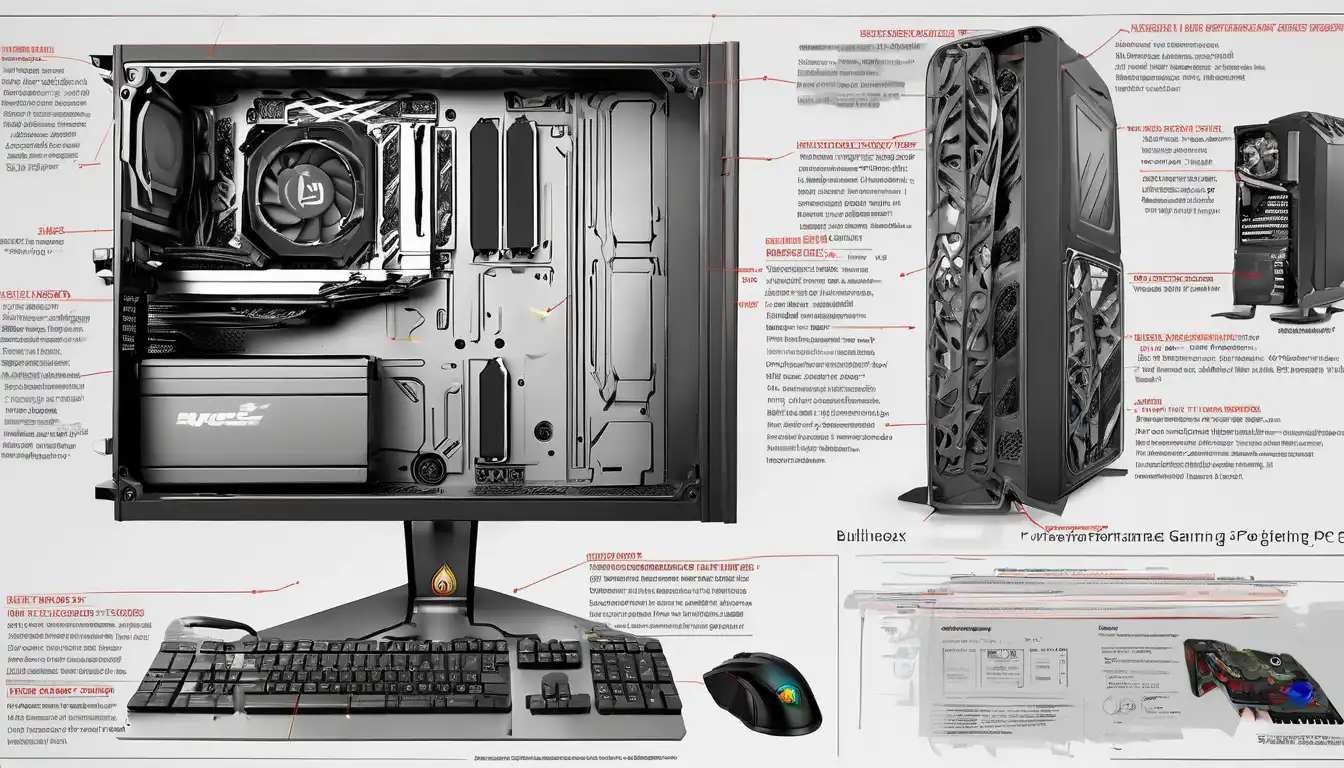
Introduction to High-Performance Gaming PC Assembly
Building a custom gaming PC offers unparalleled performance and customization compared to pre-built systems. This comprehensive guide walks you through selecting the right components and assembling a machine that delivers exceptional gaming experiences. Whether you're targeting 4K gaming, high refresh rates, or competitive esports performance, understanding each component's role is crucial for creating your ideal setup.
Essential Components for Your Gaming Build
Processor (CPU) Selection
The CPU serves as the brain of your gaming PC, handling game logic, physics calculations, and overall system performance. For gaming-focused builds, consider processors with high clock speeds and strong single-core performance. Modern gaming benefits from CPUs with at least 6 cores and 12 threads, with options ranging from mid-range offerings like the AMD Ryzen 5 series to high-end Intel Core i9 processors for maximum performance.
Graphics Card (GPU) Considerations
Your graphics card is arguably the most critical component for gaming performance. It determines your resolution capabilities, frame rates, and visual quality settings. When selecting a GPU, consider your target resolution (1080p, 1440p, or 4K) and refresh rate requirements. Current-generation cards from NVIDIA's RTX 40 series and AMD's RX 7000 series offer excellent performance across various price points.
Memory (RAM) Requirements
Modern gaming systems benefit from 16GB of DDR4 or DDR5 RAM as a minimum, with 32GB becoming the sweet spot for high-performance builds. Look for kits with speeds of 3200MHz or higher for DDR4, and 5600MHz or above for DDR5 configurations. Dual-channel configurations provide better performance than single-stick setups.
Storage Solutions
NVMe SSDs have revolutionized gaming load times and system responsiveness. A primary NVMe drive for your operating system and frequently played games, combined with additional SATA SSDs or HDDs for mass storage, creates an optimal storage hierarchy. Consider PCIe 4.0 NVMe drives for maximum performance if your motherboard supports them.
Power Supply Unit (PSU)
Never compromise on your power supply quality. A reliable PSU with adequate wattage headroom ensures stable operation and protects your investment. Look for units with 80 Plus Bronze certification or higher from reputable manufacturers. Calculate your system's power requirements and add 100-200W of headroom for future upgrades.
Motherboard Compatibility
Your motherboard choice determines compatibility with other components and future upgrade potential. Ensure the motherboard socket matches your CPU selection and provides adequate connectivity options. Consider features like PCIe 5.0 support, multiple M.2 slots, and robust VRM designs for better power delivery.
Cooling Solutions
Proper cooling maintains performance and extends component lifespan. Air coolers offer reliable performance at lower price points, while all-in-one liquid coolers provide superior thermal management for overclocked systems. Case airflow optimization through strategic fan placement is equally important for overall system cooling.
Step-by-Step Assembly Process
Preparation and Workspace Setup
Begin by organizing your components and preparing a static-free workspace. Gather necessary tools including Phillips head screwdrivers, cable ties, and thermal paste. Read all component manuals before starting assembly to familiarize yourself with specific installation requirements.
Motherboard Preparation
Install the CPU, RAM, and M.2 drives onto the motherboard before mounting it in the case. Apply thermal paste in a pea-sized dot at the center of the CPU before attaching the cooler. Ensure all components click securely into place without excessive force.
Case Assembly
Mount the power supply first, followed by the motherboard tray installation. Route front panel connectors and USB headers before securing the motherboard. Install storage drives in designated bays and prepare cable management routes for clean organization.
Component Installation
Secure the graphics card in the primary PCIe x16 slot, ensuring the retention clip engages properly. Connect all power cables from the PSU to corresponding components, paying attention to CPU power (4+4 pin) and motherboard power (24-pin) connections.
Cable Management
Proper cable management improves airflow and maintains system aesthetics. Use Velcro straps or zip ties to bundle cables together, routing them behind the motherboard tray when possible. Ensure no cables obstruct fan movement or contact hot components.
System Optimization and Testing
BIOS Configuration
Access your motherboard BIOS to enable XMP/DOCP profiles for optimal RAM performance. Configure boot priorities to start from your installation media. Update to the latest BIOS version for improved stability and compatibility.
Operating System Installation
Create a bootable USB drive with your preferred operating system. During installation, format your primary drive and allocate partitions appropriately. Install necessary chipset drivers and graphics card drivers immediately after OS setup completion.
Performance Benchmarking
Use benchmarking tools like 3DMark and UserBenchmark to verify component performance. Monitor temperatures under load using HWMonitor or similar software. Stress test your system to ensure stability before beginning regular use.
Game-Specific Optimizations
Configure in-game settings based on your hardware capabilities. Enable features like NVIDIA DLSS or AMD FSR where supported for improved performance. Adjust control panel settings for your graphics card to optimize gaming experiences.
Maintenance and Future Upgrades
Regular maintenance ensures long-term performance. Dust your system every 3-6 months using compressed air. Monitor component temperatures and consider repasting thermal compound annually for optimal cooling performance. Plan future upgrades by considering compatibility with existing components and performance bottlenecks in your current setup.
Building a high-performance gaming PC requires careful planning and execution, but the results justify the effort. By selecting compatible components and following proper assembly procedures, you can create a system that delivers exceptional gaming experiences for years to come. Remember that the PC building community offers extensive resources for troubleshooting and optimization, making the process accessible to builders of all experience levels.
For more detailed information on specific components, check out our guides on gaming CPU selection and graphics card comparisons. If you're considering water cooling solutions, our custom loop guide provides advanced cooling techniques for enthusiasts.