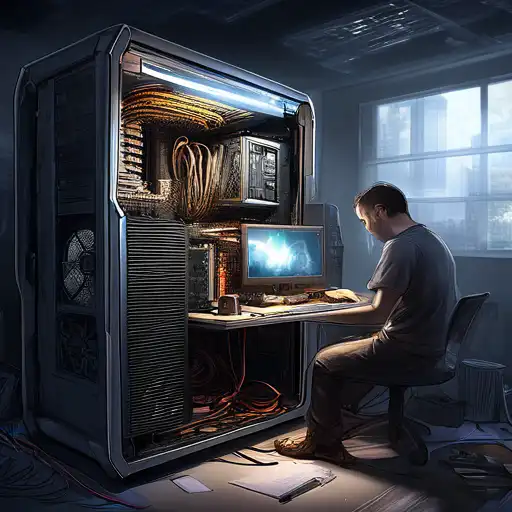
Introduction to PC Building
Building your own PC can be a rewarding experience, offering not only a sense of accomplishment but also the opportunity to customize your machine to your exact needs. Whether you're a gamer, a content creator, or just someone looking for a powerful workstation, assembling your own computer allows you to select each component for performance, aesthetics, and budget.
Why Build Your Own PC?
There are several advantages to building your own PC, including cost savings, the ability to upgrade easily, and the satisfaction of creating something uniquely yours. Plus, you'll gain a deeper understanding of how computers work, which can be invaluable for troubleshooting and future upgrades.
Essential Components for Building a PC
Before you start, it's important to understand the key components you'll need:
- Processor (CPU): The brain of your computer, responsible for executing instructions.
- Motherboard: The main circuit board that connects all components.
- Memory (RAM): Temporary storage for data that the CPU needs quick access to.
- Storage (SSD/HDD): Where your operating system, applications, and files are stored.
- Graphics Card (GPU): Essential for rendering images, especially important for gaming and video editing.
- Power Supply Unit (PSU): Powers all components of your PC.
- Case: Houses all your components and comes in various sizes and designs.
Choosing the Right Parts
Selecting compatible components is crucial. Research each part to ensure they work well together and meet your performance needs. Consider future-proofing your build by choosing slightly higher specs than you currently need.
Step-by-Step Guide to Assembling Your PC
Now that you have all your components, it's time to put them together. Follow these steps to assemble your PC:
- Prepare your workspace with a clean, flat surface and gather necessary tools.
- Install the CPU onto the motherboard carefully, aligning it correctly.
- Attach the CPU cooler to keep your processor at optimal temperatures.
- Insert the RAM into the designated slots on the motherboard.
- Mount the motherboard inside the case, securing it with screws.
- Install the storage drives (SSD/HDD) in the case's drive bays.
- Place the power supply unit in its compartment and connect it to the motherboard and other components.
- If you're using a dedicated GPU, insert it into the PCIe slot on the motherboard.
- Connect all necessary cables, including power, data, and front panel connectors.
- Close the case, connect your monitor, keyboard, and mouse, and power on your PC.
Installing the Operating System
After assembling your PC, you'll need to install an operating system (OS). Whether you choose Windows, Linux, or another OS, ensure you have a bootable USB drive or DVD ready. Follow the on-screen instructions to complete the installation.
Final Thoughts
Building a PC is a fulfilling project that can save you money and give you a machine tailored to your needs. With the right preparation and careful assembly, even beginners can successfully build their own computer. Remember to take your time, follow instructions carefully, and enjoy the process of creating something truly your own.
For more tech guides and tips, check out our other articles on technology and DIY projects.
